
Table of Contents
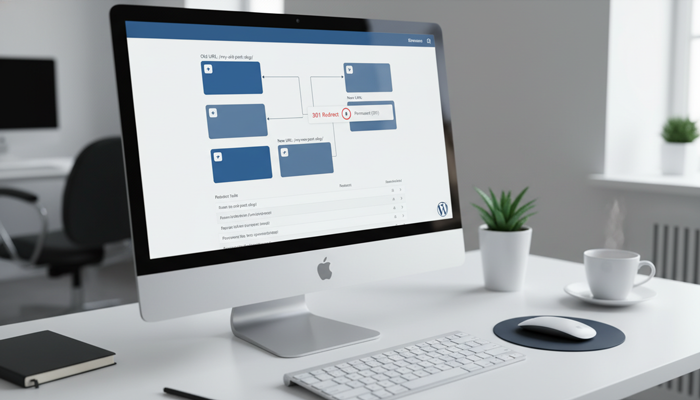
A 301 redirect sends visitors and search engines from one URL to another. It helps maintain SEO rankings when you change URLs or delete pages. This guide explains how to set up a 301 redirect in WordPress.
Why Use a 301 Redirect?
A 301 redirect tells browsers and search engines that a page has permanently moved. This helps:
-
Prevent broken links when changing URLs.
-
Keep SEO value from the old page.
-
Improve user experience by directing visitors to the right content.
How to Set Up a 301 Redirect with a Plugin
The easiest way to add a 301 redirect is by using a plugin like Redirection or Simple 301 Redirects.
Steps to use the Redirection plugin:
-
Install and activate the Redirection plugin.
-
Go to Tools > Redirection in your WordPress dashboard.
-
Click Add New Redirect.
-
Enter the old URL in the “Source URL” field.
-
Enter the new URL in the “Target URL” field.
-
Click Save to apply the redirect.
How to Add a 301 Redirect Manually
If you prefer not to use a plugin, you can edit your .htaccess file (for Apache servers).
Steps:
-
Connect to your site via FTP or cPanel.
-
Find the
.htaccessfile in the root directory. -
Open it and add this line at the bottom:
Redirect 301 /old-page-url https://yourwebsite.com/new-page-url -
Save the file and upload it back to your server.
Best Practices for 301 Redirects
-
Redirect only when necessary to avoid slowing down your site.
-
Always test redirects to ensure they work correctly.
-
Avoid redirect chains (redirecting from one URL to another multiple times).
-
Update internal links to point directly to the new URL.
By following these steps, you can easily set up 301 redirects in WordPress and maintain your site’s SEO.
Need help managing your WordPress site? Get expert WordPress support today!